The bathroom had the absolute worst plaster in the house. The listing photos cannot conceal the extent of the problems:

All the photographic tinkering, staging and large flower arrangements cannot distract the eye from the lumps, ripples and dings. The walls and ceiling were painted Benjamin Moore’s “Jackson Tan” HC-46. This color:
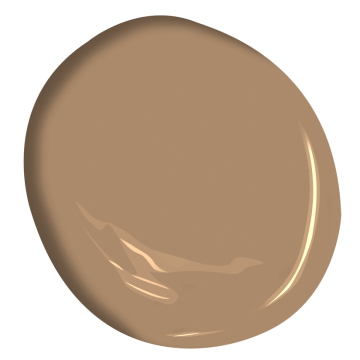
I cannot think of a single good reason why a ceiling would ever be painted this color, particularly with a light fixture with the lights oriented upwards. But there it was. The Previous Owner definitely had some feelings about this color, as it was used in the living room, bedroom and foyer as well as the bathroom. The color was very similar to chocolate milk. The chaos of lumps, tumours and plaster smears below the surface made it look like a drunk iced a cake.
While coming or going from my bath, I had started tapping at various ceiling level lumps, which all sounded oddly hollow. One day my curiosity got the better of me, and as I was finished the battle with the hall, I pulled out my scraper at 1:00 a.m.. A LOT of the paint , with a large amount of the plaster stuck to the paint, scraped off easily. The plaster below was a salmon pink color, and felt very dusty to the touch, like chalk. I scraped and scraped until it was far past my bedtime and the bathroom was a big mess.

I did some reading, and it seemed like the chalky surface was a very old type of water based paint, called Calcimine or Kalsomine. Painters could buy the dry paint mix, and add water to their preferred consistency. This paint could also be removed by scrubbing it off the plaster with soap and water. In fact, this was an absolutely necessary step, as no other paint would ever bind properly to calcimine paint. However, someone at this address did not know this, and began a battle of layers of oil and latex paint over the ancient calcimine paint. It would never adhere properly, and the layers would flake off. Someone assumed this was a deficit with the plaster, then started patching that, then painting over the lumpy repairs. I poked further. The hollow lumps were crumpled up pages from the 2014 phone book, with fiberglass tape over that, followed by a single layer of joint compound. If the mesh texture was not concealed then twice as much joint compoud was used, but not sanded or smoothed. As I scraped and poked further, it became obvious that the original plasterer was either on his first or last day on the job. There seemed to be something wrong with the scratch coat (the gritty base coat that goes onto the wood lath). It was really sandy and crumbled at the lightest touch.
Plaster sticks to wood lath using keys. Keys are the wet plaster that squishes through the lath, and locks the surface plaster to the lath as it dries. If the keys get broken, the plaster on the wall gets loose, and feels flexible under light hand pressure. Old plaster usually had horsehair mixed in. These fibers helped the plaster to be less brittle and more flexible. The layer of finishing plaster in this room was only a few millimeters thick ! Other old house owners on a historical house forum talked about their plaster, and in some homes their finish coat was an INCH thick !
A normal or reasonable person would have thrown up their hands, and called some drywallers to fix this mess. I had just moved here, and I certainly did not know any drywallers, or even a person who could recommend a handy type. I was leery of drywall at the best of times, particularly as drywall that is too thick sort of buries the trim and moulding profile, which looks terrible.
In Canada, the only place that sells plaster washers is Lee Valley, at Lee Valley prices.
Plaster washers are perforated metal discs, that screw loose plaster back to the lath using drywall screws. Then this gets covered up with fiberglass mesh, then patched over. I ordered more than I thought I would need.

Experienced old house fixers on the forum told me I needed to scrub all the calcimine paint off before I could patch or prime. I tried a small patch with soap and water and a dish scrubber. It came off fine – but the reactivated pink calcimine turned a gory reddish shade, and dripped all over everything. What a mess.

This whole process was very demoralizing. The room looked worse and worse. I still had to bathe in this bathroom, which gave me plenty of time to ruminate about solutions. I hated the flooring, which was a “neutral”(meaning beige and brown, ugh) peel and stick vinyl tile. It had to go. At least I wasn’t worried about the plaster, primer or paint damaging the floor as I fought this battle.
At some point the walls and ceiling were fixed enough to prime them. I tried a couple of different wall colors, which I wound up hating. I mixed some paint leftovers until I had an acceptable pale pink-beige. I used paint I had saved from my house (Benjamin Moore Lancaster Whitewash) for the ceiling – sort of a very light clay-grey. Lighter walls and a light ceiling was like I had switched from a grimy 25 watt bulb to 300 watt bulbs. It was so much better.
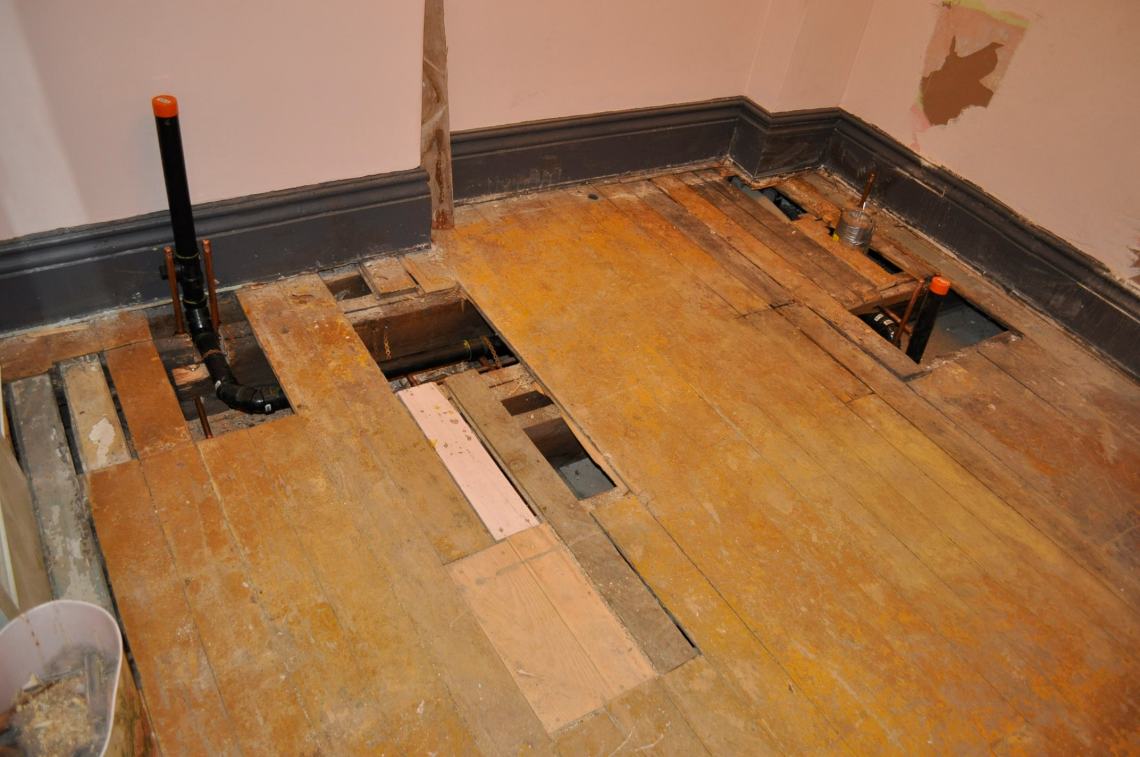
I optimistically hoped that I could pull off the vinyl, then pull up the subfloor, then just paint the original wood floor.
The plywood subfloor was its own strange nightmare. It was this crazy patchwork of plywood – like whoever put it down had driven all over town and picked up any discarded plywood they could find at the side of the road on garbage night. Some was brand new, some was weathered and previously painted. Some was screwed on, using a variety of screw types, while other portions were nailed down.
I managed to get most of that off, and discovered that there were areas of rot on the original floor, and areas that had been incompetently patched in. The floor was now another big problem.